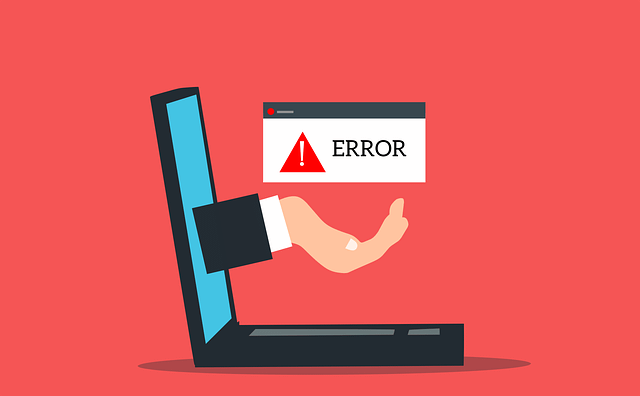
Although Google Chrome is a well-known browser, it frequently displays technical issues. Users who primarily utilize the internet to gather information find these faults difficult to understand.
Many users face an error indicating a connection failure attempt while using the Chrome browser. Let us first understand what this error is and what the causes are, then we will move toward its solutions.
Meaning and Causes of Connection Error
Google Chrome or any other browser will send an HTTP request to the source server serving as the website’s host when you access a webpage in it.
Chrome will display this error if an internet service provider or network administrator restricts the browser’s request. It will state that the specified website is either permanently moved or temporarily unavailable.
To safeguard or conceal your identity, a proxy server or VPN removes header information from a user’s request to a website. In the majority of circumstances, this won’t be an issue, and you’ll be able to gain access to the webpage without any issues.
The error note will, however, occasionally display if the expected and delivered values are not the same. Some of the causes of this inaccuracy are as follows:
- Incorrect domain configuration for the website.
- Discordant browser data.
- Issues With DNS Connection.
- Incorrectly entered proxy settings.
Now that we have seen the causes, let us see some effective and easy solutions to fix the “err_tunnel_connection_failed” issue for you.
Effective Solutions to Fix the Connection Error
Follow the methods below carefully to solve your error.
Disable the proxy settings.
The best and first method to fix this mistake is to do this. This error would appear in Chrome if your computer’s proxy settings were in use.
You can easily switch your PC’s proxy settings to resolve this issue by following the instructions provided below.
- Hit the Windows button + R key on your keyboard together.
- This will open up the Run window.
- Type inetcpl.cpl in it and hit the Enter button.
- Now, move to the Connections section.
- Select the LAN settings option.
- An Internet Properties window will open up, and it will be redirected to its Connections section.
- Select the LAN settings option.
- A different window will open up.
- Now, uncheck the Use a proxy server for your LAN checkbox.
- Ensure that the option to automatically detect settings is chosen. To make the changes, press the OK option.
- Restart the computer, launch Chrome, and check to see if the issue still occurs when you try to access the internet.
Even though following these instructions will fix the issue for you, attempt the next approach if the previous one didn’t.
Reset the network settings.
You could also try resetting your network’s settings. To correct the problem, flush the DNS address and reset the TCP/IP. Below are the steps to reset network settings.
- Go to the Start menu on your desktop.
- Enter the Command Prompt in the search bar and hit Enter.
- Choose the first result from the search results.
- Right-click on it and choose the Run as administrator option.
- A Command prompt window will open up.
- In the opened window, enter the following commands and hit the Enter button after each command.
ipconfig /flushdns
nbtstat –r
netsh int ip reset
netsh winsock reset
- Reboot the computer once all the commands have completed their tasks. Open the browser and see if the issue has been resolved. If not, try the following strategy.
Alter the DNS address.
You need to set up the IPv4 DNS address on your computer to automatically get the DNS server address. Otherwise, set it to the DNS address given by your ISP – Internet Service Provider. It’s possible that you are encountering an issue in Google Chrome if it hasn’t been set to any of them.
If so, you might want to try adjusting your computer’s DNS address to the Google DNS server address. In order to do so, adhere to the guidelines below.
- Click on the Network icon located on the right side of your taskbar.
- This icon will enable you to connect through a WiFi connection on your computer.
- Right-click on that icon.
- Choose the Open Network & Sharing Center option from the list of options.
- A Network & Sharing Center window will appear.
- Now, move to the View your active networks tab in the opened window.
- Further, select the current network you are connected to.
- This will enable your current connected network to appear in the list of Connections options.
- An Internet Connection Status window will open up.
- Go to the Properties tab in the window.
- You will see a different Properties window.
- Move to the Networking section.
- Search and choose the Internet Protocol Version 4 – TCP/IPv4 option in the window.
- Double-click on the option.
- You can now check to determine whether the DNS is configured to automatically obtain or set to a specific value. In any case, ensure the option to utilize the given DNS server address is chosen.
- Once you’ve done that, type in the address of the Google public DNS server:
8.8.8.8
8.8.4.4
- Make sure you choose the option to validate settings upon exit after configuring the DNS address. To apply DNS settings, press the OK button when finished.
- Restarting your computer would be the next action.
Conclusion
One of the frequently encountered error messages is the tunneling connection error. If you’re getting this error code, the problem may lie with your Google Chrome browser. Here, we’ve listed different solutions; go through them and choose the appropriate one.
Meta Description: If you are facing a tunnel connection error in the Chrome browser, then go through this helpful guide. We have listed the most effective ways to fix this problem.